First Interval: For the first 18 days, keep the humidity around 50-55%.
Last Days: Increase the humidity to about 65-70% during the last 3 days (hatching period).
Fresh Air: Ensure the incubator has good ventilation to provide a constant flow of fresh air.
Frequency: Turn the eggs at least 3-5 times a day to prevent the embryo from sticking to the shell.
Stop Turning: Cease turning the eggs 3 days before the expected hatch date.
Candling: Use a light source to candle the eggs and monitor embryo development. This helps identify any non-viable eggs early on.
The Hatching Process
Preparation:
Increase the humidity and stop turning the eggs 3 days before the expected hatching date.
Ensure the hatching environment remains optimal by maintaining stable humidity and temperature.
Important Tips:
Avoid opening the incubator frequently during the hatching period to keep the environment stable.
Patience is key; chicks can take several hours to fully emerge from their shells.
Hatching chicken eggs at home with an incubator requires careful attention to detail, but it is a highly rewarding process.

Conclusion:
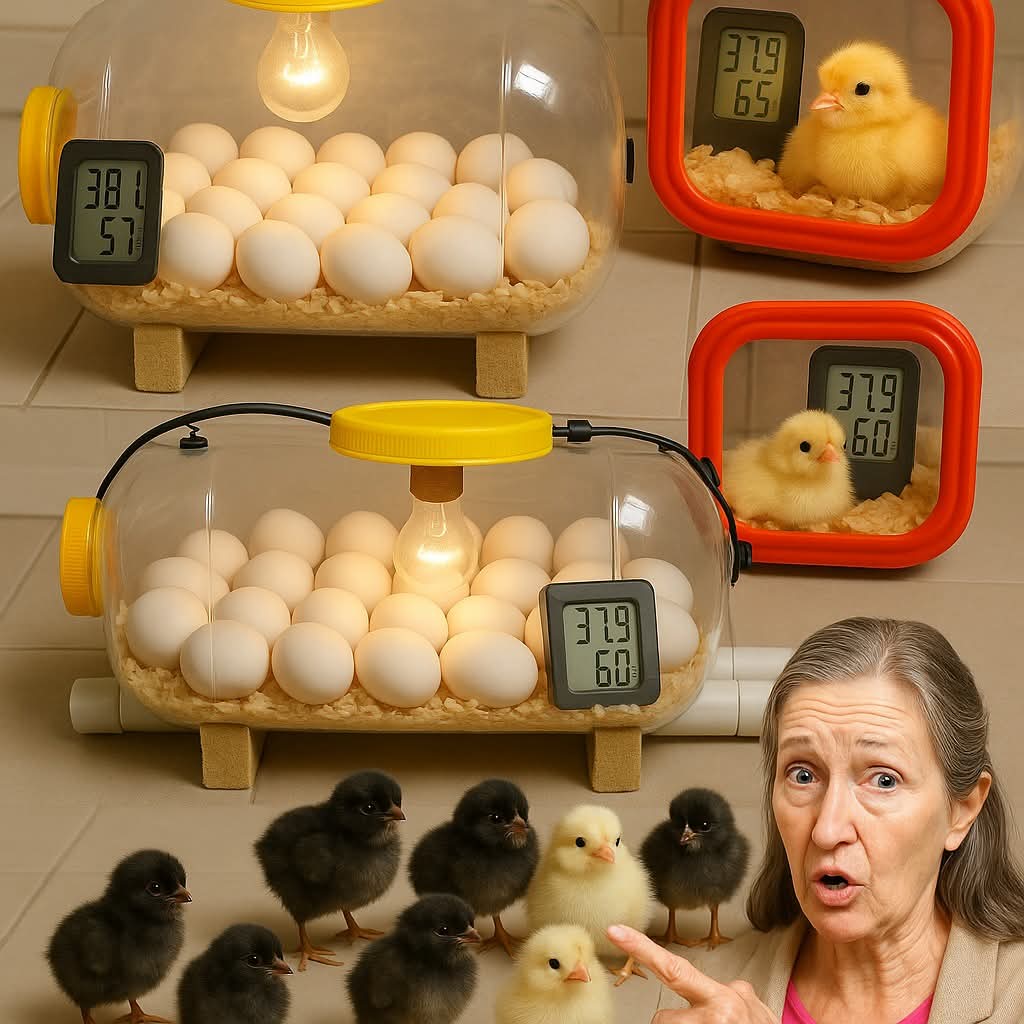
Crafting your own egg incubator from a recycled water bottle is a fun and sustainable DIY project that allows you to hatch eggs at home with minimal cost and resources. By following the steps outlined in this guide and using basic materials, you can create a simple yet effective incubator that provides a warm and nurturing environment for developing embryos. Whether you’re a seasoned poultry enthusiast or a beginner looking to try your hand at hatching eggs, this homemade incubator is sure to bring joy and excitement to your hatchling adventures. Happy hatching!
